
For product management it is important to know how product categories, tags and attributes work.
Product Categories
Product categories and tags work in the same way as the normal categories and tags that entries or pages have. They can be created, edited and selected at any time. This can be done when creating a product for the first time or by editing the category/tag specifically.
Attributes
They can be added per product, or you can set up global attributes to be used throughout the store.
Types of products
With the attributes and categories configured and the stock management set up, we can start adding products. When adding a product, the first thing to do is to define what type of product it is:
- Simple: covers the vast majority of products. Simple products are shipped and have no options. For example, a book.
- Virtual: one that does not require shipping. For example, a service. Enabling this disables all fields related to shipping, such as product dimensions. A virtual product will also not trigger the shipping calculator in the cart and checkout.
- Downloadable: enable additional fields where you can provide a downloadable file. After a successful purchase, customers receive a downloadable file as a link in the order notification email. This is suitable, for example, for a photo book, a PDF magazine or a photo.
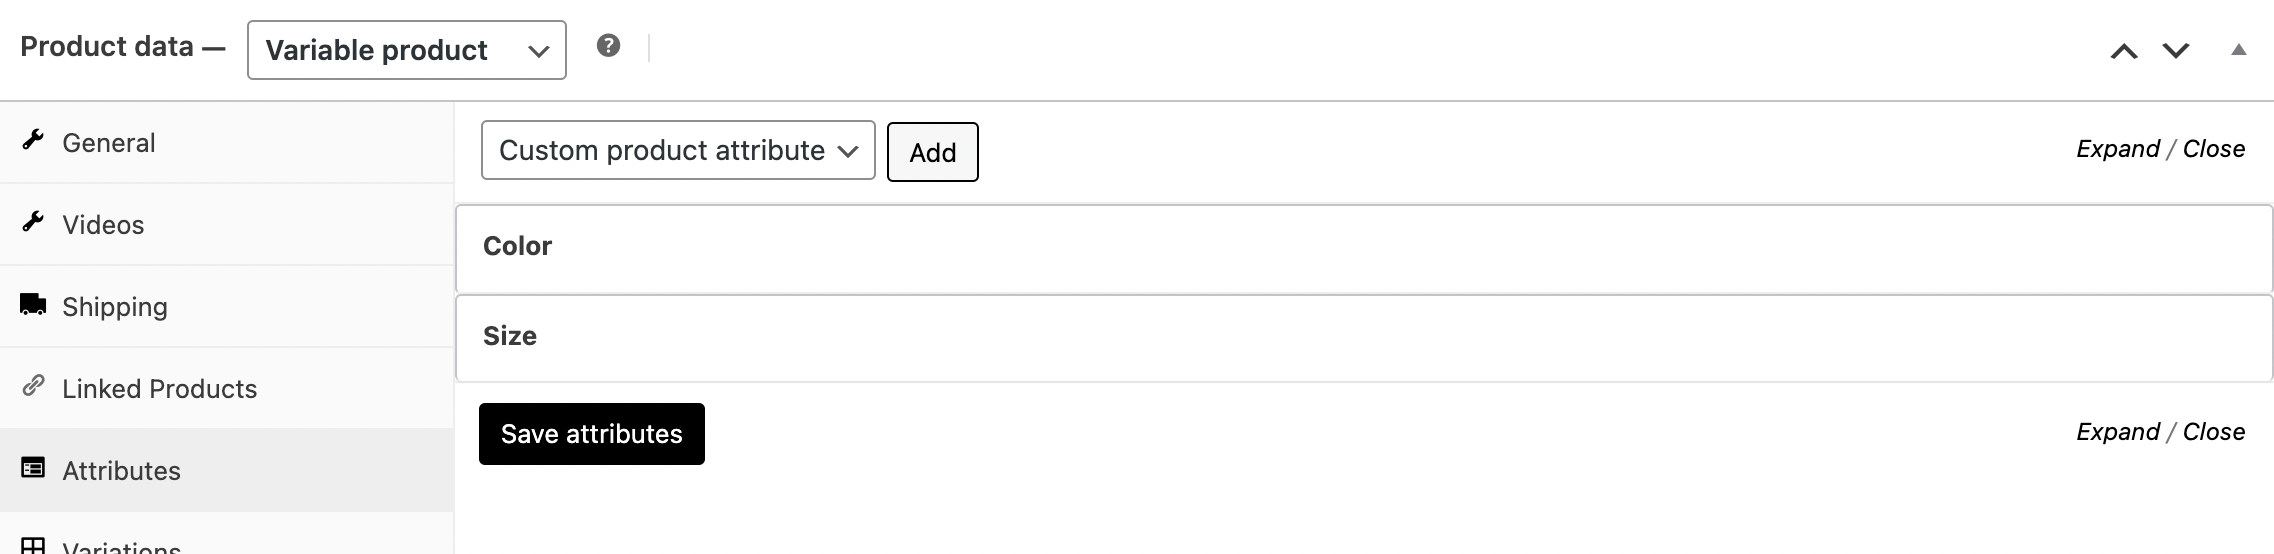
- Variable: a product with variations, each of which may have a different SKU, price, purchase option, etc. For example, a T-shirt available in different colors and/or sizes.
Adding a product
- In the left side panel Products > Add New.
- Enter a title and description of the product.
- Go to the Product Data panel and select downloadable (digital) or virtual (service) if applicable.

Product data
The Product Data box is where most of the important data for the products is added.
- General:
- Normal price: regular price of the item.
- Discounted Price: the discounted price of the item which can then be scheduled for certain date ranges. Sale expires at 11:59 pm on the specified end date.
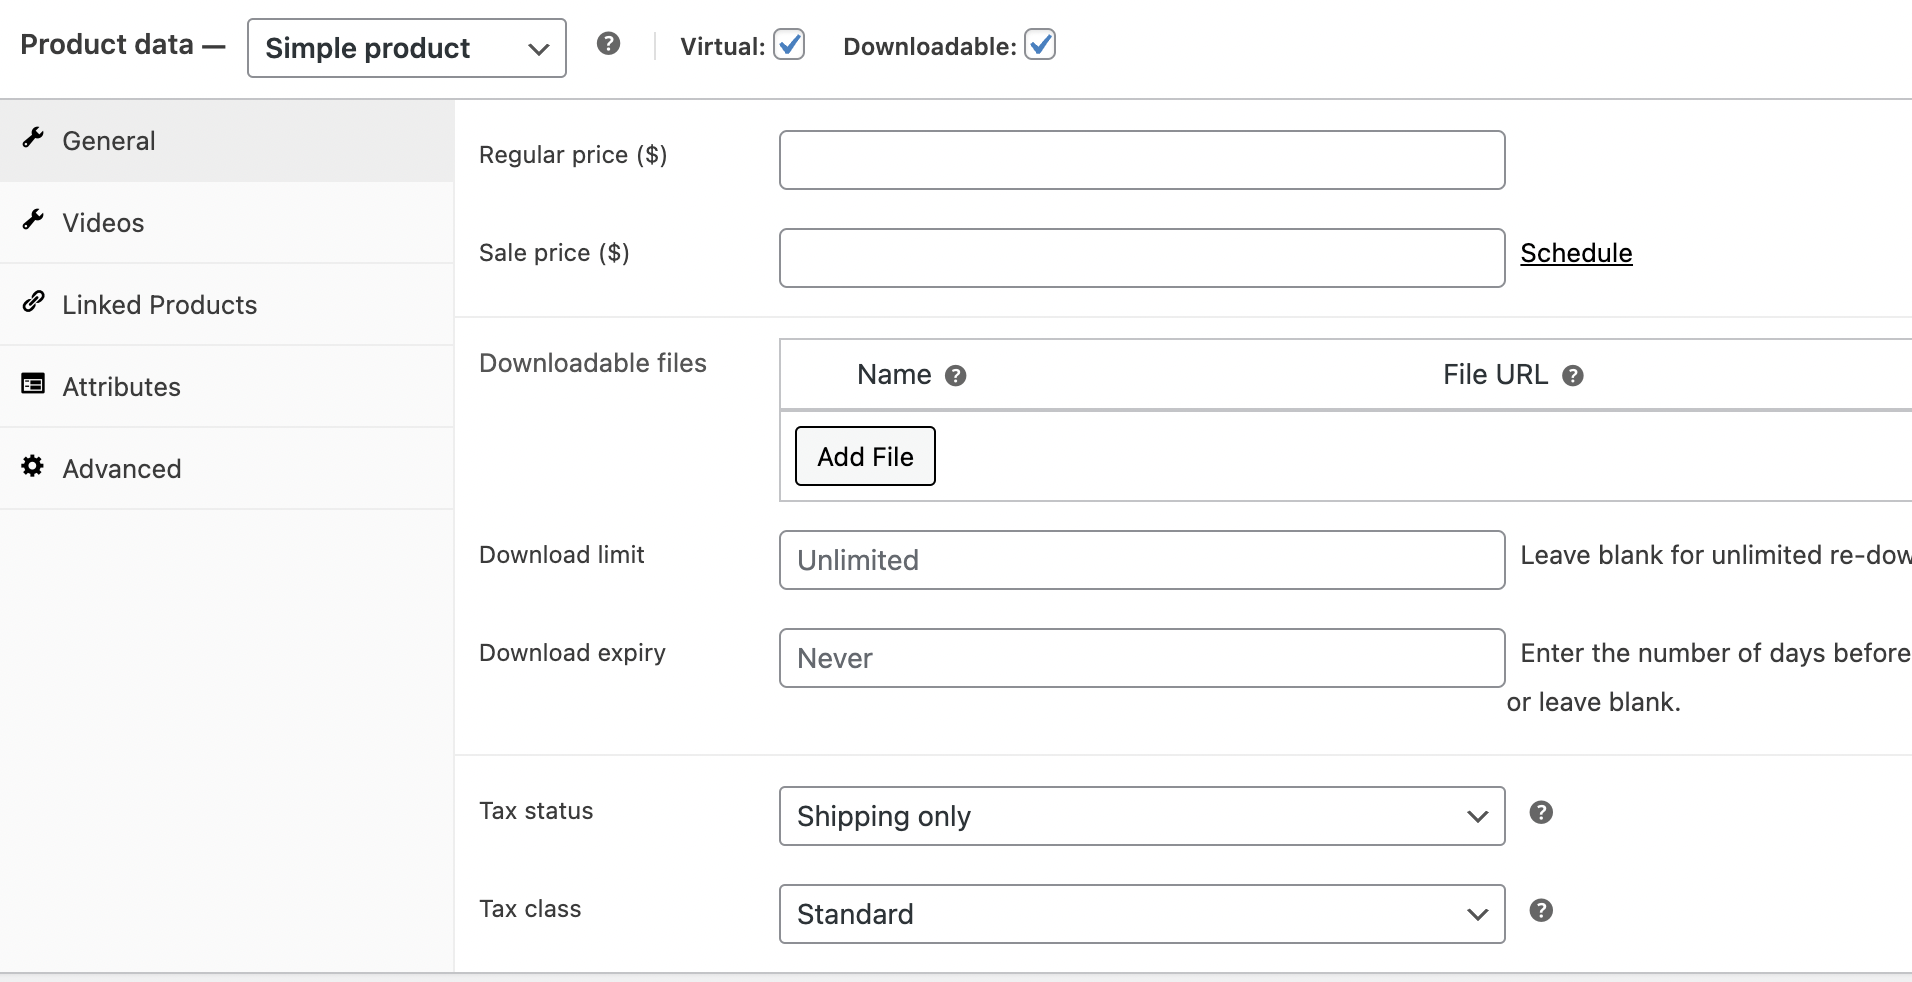
In the case that the product is downloadable you will have more options to specify the download limit among other options.Dat what you want is to create a variable product, you have all the steps to follow in: How to create a variable product.
- Inventory:
- The inventory section allows you to manage the stock for the product individually and define whether to allow backorders and more. It allows you to sell products and allow customers to add them to the cart for purchase.
- The SKU must be a unique identifier.
- Enable Inventory Management must be selected in Product Inventory Settings; otherwise, only the “Stock Status” option is visible in the Product Data Inventory box.
- Options when stock management at product level is enabled. You are responsible for updating the stock status:
- Attributes:
- In the Attributes tab, you can assign details to a product. You will see a selection box containing the global attribute sets you have created.Once you have chosen an attribute from the selection box, click add and apply the terms attached to that attribute to the product. You can hide the attribute in the interface by leaving the Visible checkbox unchecked.
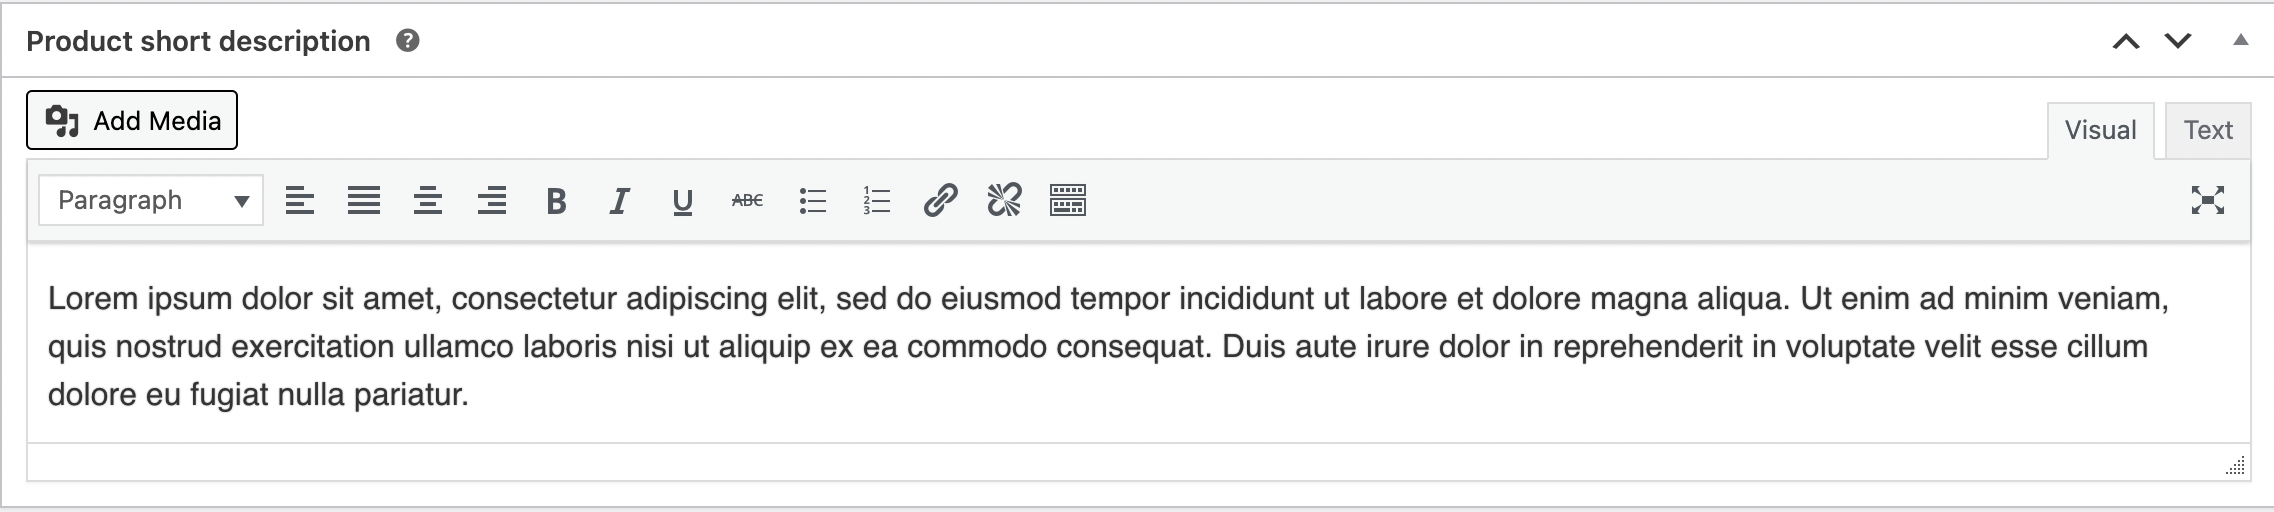
Short product description
Add an excerpt. This usually appears next to the product images on the listing page, and the long description appears on the Product Description tab.
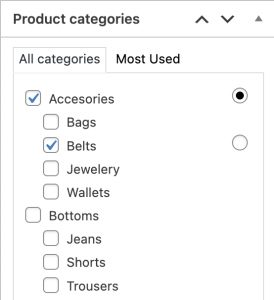
Taxonomies
On the right side of the panel, there are product categories in which you can place your product.
Product images
Add a main product image and an image gallery. More in: Add product images and galleries.
Configuration of catalog visibility and featured products:
In the Publish panel, you can configure the Catalog Visibility for the product.
- In store and in search results: Visible everywhere, shop pages, category pages and search results.
- In-store only: Visible on store pages and category pages, but not in search results.
- Only in search results: Visible in search results, but not in store page or category pages.
- Hidden: Only visible on the individual product page, not on any other pages.
You can also set the product as a featured product.
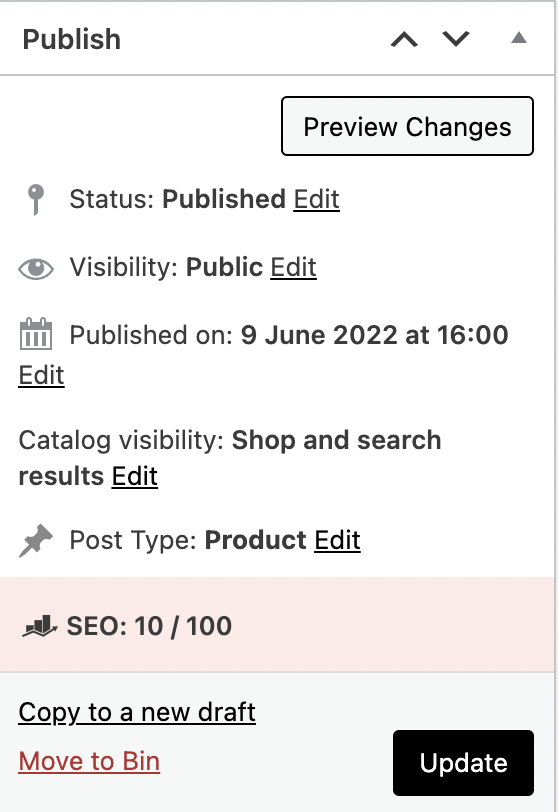
Clicking on the Publish button will save all the configuration and the product will be ready.